Mini Split Installation in Santa Clara & the Bay Area
Ductless heating and cooling for additions, retrofits, and rooms without ducts. Single-zone and multi-zone systems from Carrier, Mitsubishi, Fujitsu, and Daikin. Professional installation with real load calculations — not guesswork.
Mini split installation in Santa Clara and the Bay Area — EVS Mechanical installs single-zone and multi-zone ductless systems from Carrier, Mitsubishi, Fujitsu, and Daikin. Every quote includes a real load calculation. Permits handled. Family-run. Call (408) 300-8254.
What Is a Mini Split?
A mini split (ductless mini split) is a heating and cooling system that delivers conditioned air directly to specific zones without ductwork. It consists of an outdoor compressor and one or more indoor air handlers, connected by a small refrigerant line.
When to call EVS:
- You're adding a room or finishing a garage without ductwork
- Your home has no existing ducts (common in older Bay Area homes)
- You want independent temperature control in different rooms
- A central system is oversized for your actual needs
Who this is for: Homeowners in Santa Clara, San Jose, Sunnyvale, Mountain View, Palo Alto, Los Gatos, Santa Cruz, Cupertino, Campbell, Saratoga, Los Altos, and Milpitas. Residential and light commercial.
Why EVS?
We do the math, not the guess.
Every quote starts with a real Manual J load calculation. We size the system to your space — not to what's on the truck. Most contractors ballpark it. We prove it.
We handle the permit.
Santa Clara, San Jose, Sunnyvale — every city requires permits for mini split installation. EVS pulls the permit, schedules the inspection, manages the paperwork. You don't think about it.
1-2 hour callback.
Call (408) 300-8254. A real person calls back within 2 hours. Same-day install scheduling if available.
Brands with Bay Area service networks.
Carrier, Mitsubishi, Fujitsu, Daikin, Bosch, Lennox, Bryant, Goodman. If it has local warranty service in the Bay Area, we install it.
Family-run.
Euler Vargas personally oversees every installation. We don't subcontract. We don't have a national call center. When you call EVS, you talk to the same people who will be in your home.
Our Process
Call or Book Online
We answer. 1-2 hour callback if you leave a message. We'll ask about the space so the site visit is productive.
Site Visit + Load Calculation
We measure the room(s), check the electrical panel, evaluate wall and roof penetrations, and run a Manual J load calculation. This tells us exactly what BTU capacity you need — not a guess.
Custom Quote (Written, No Surprises)
You get a written quote with: equipment make and model, line set routing, electrical requirements, permit fees, timeline, and total price. Every number explained.
Permits + Scheduling
We pull the permit with your city. We schedule around your timeline — same week if available.
Installation
EVS technicians do the install. We test the system, commission it, and walk you through the operation — thermostat settings, cleaning, filter replacement schedule.
Follow-Up
We check in after the first heating or cooling season. Local service support — not a national call center.
Our Work
Real installations by EVS Mechanical
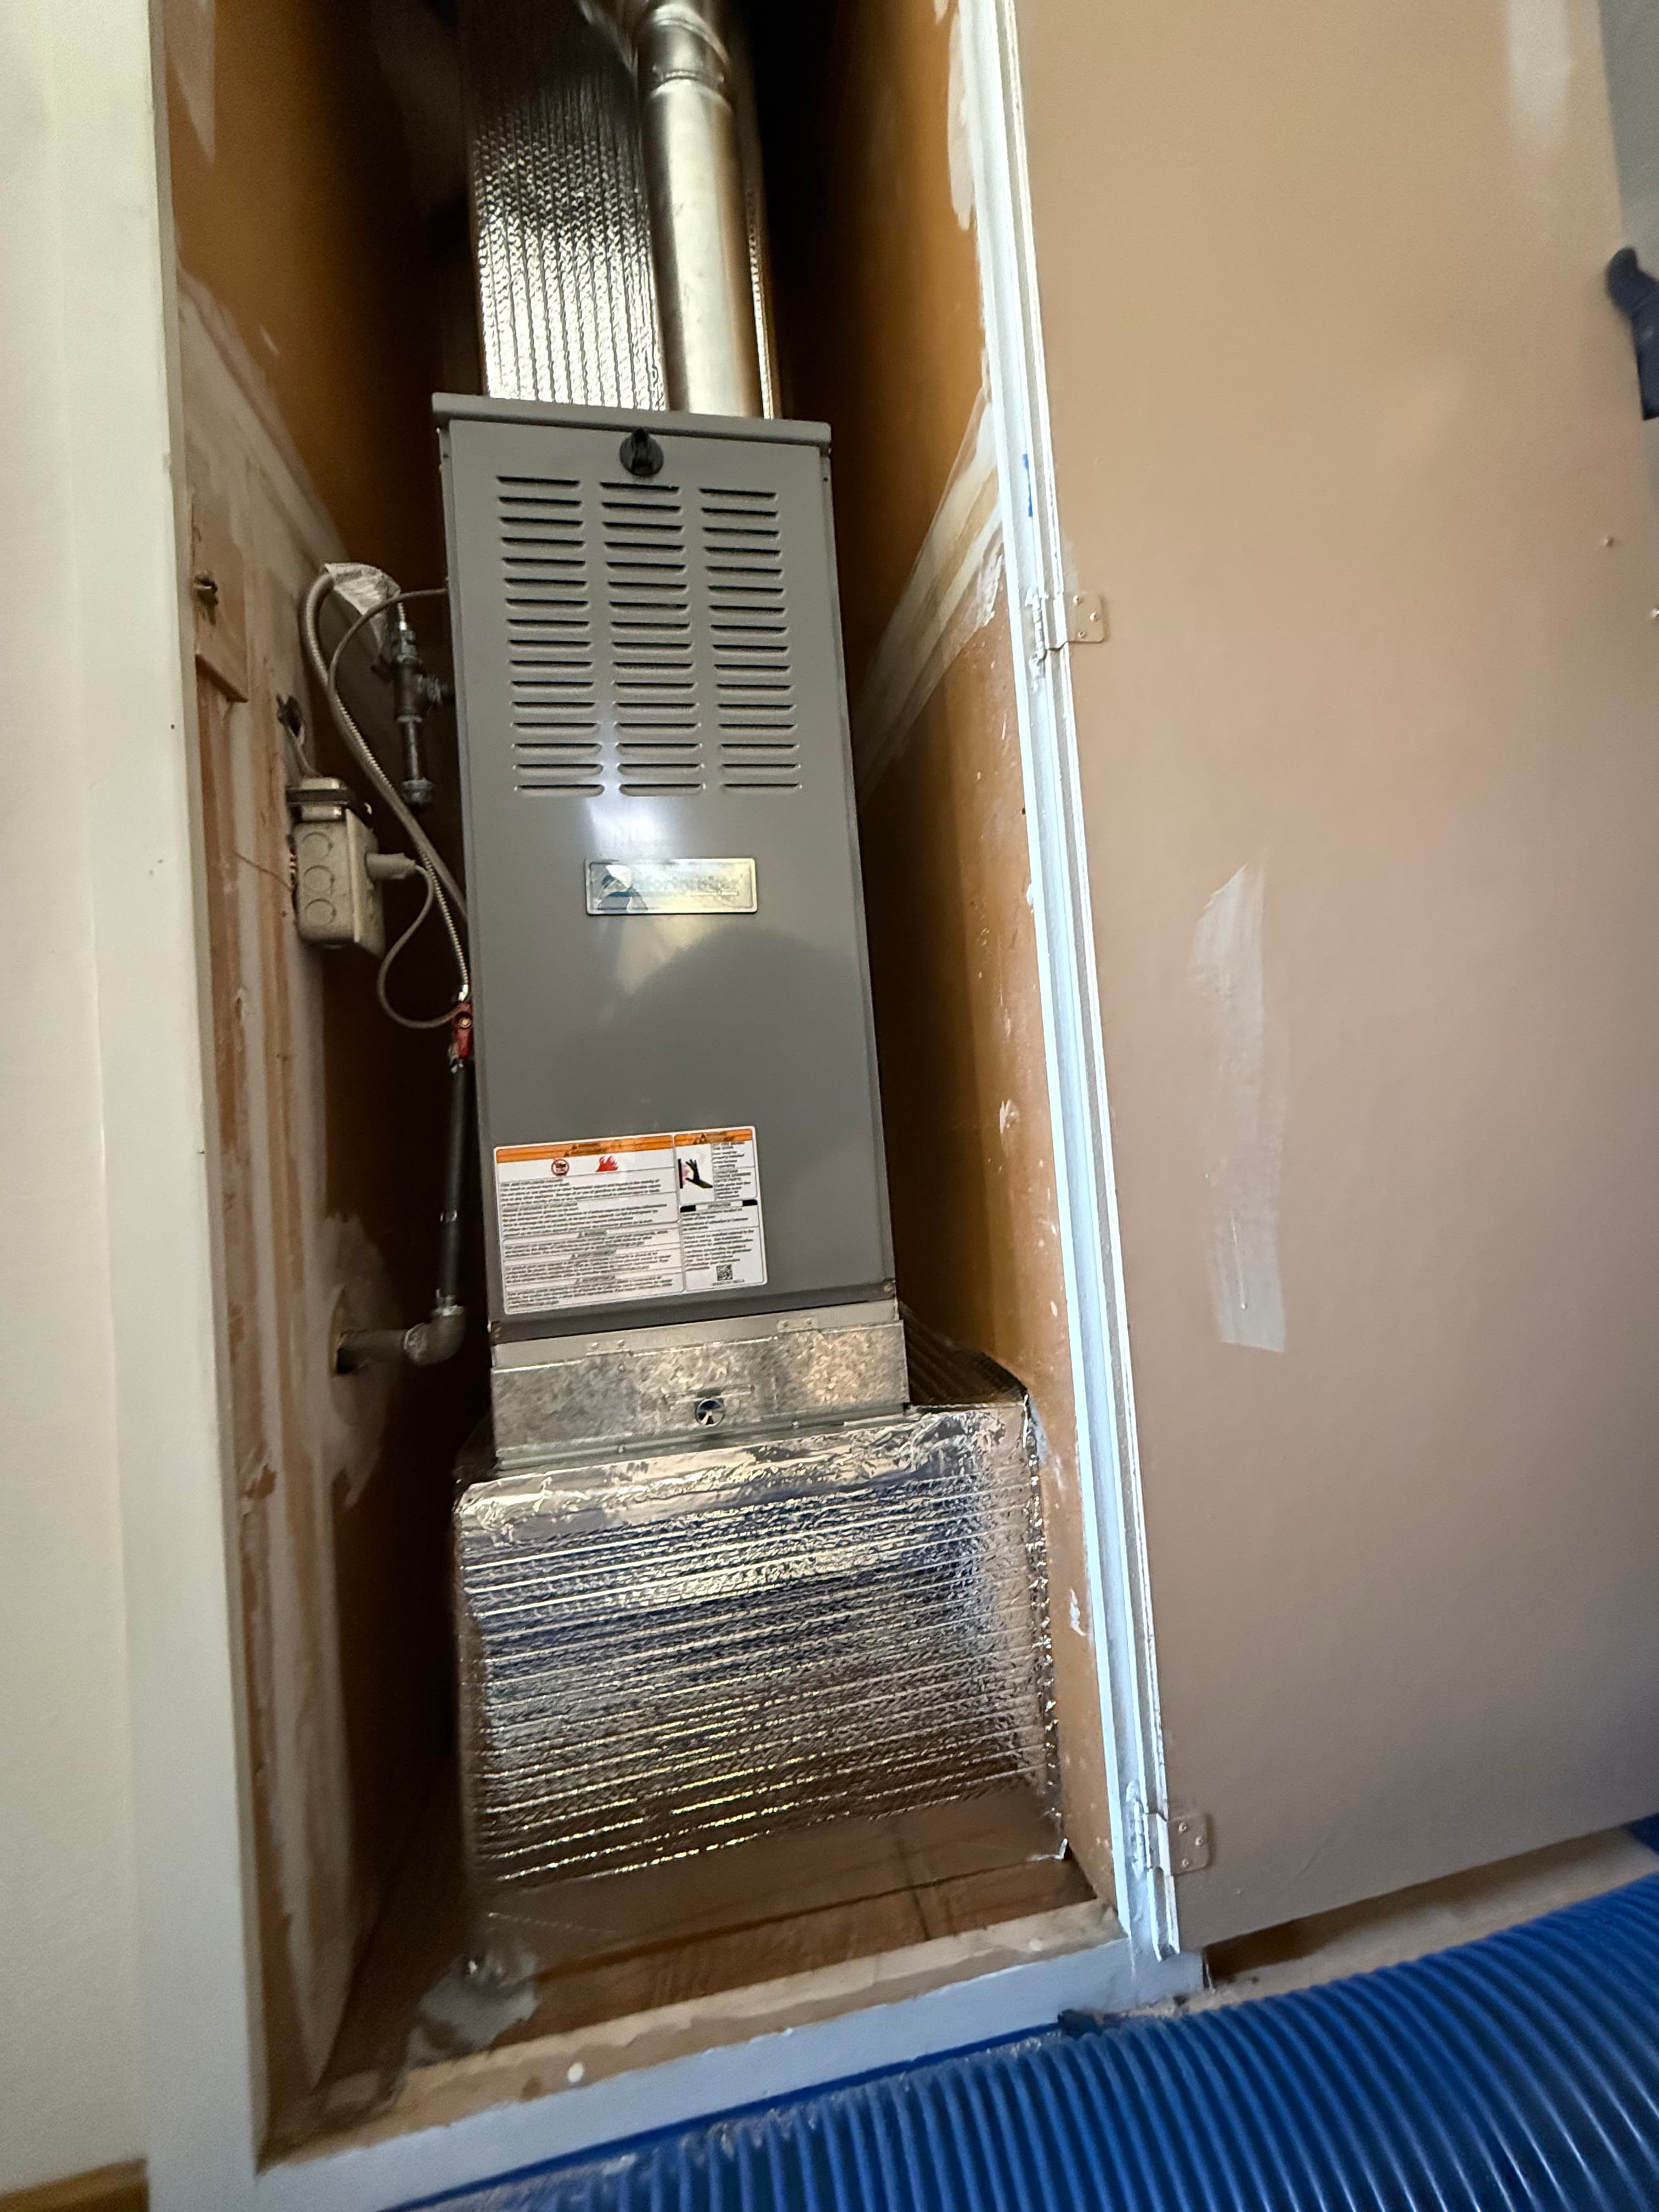
Gas furnace installed in closet alcove
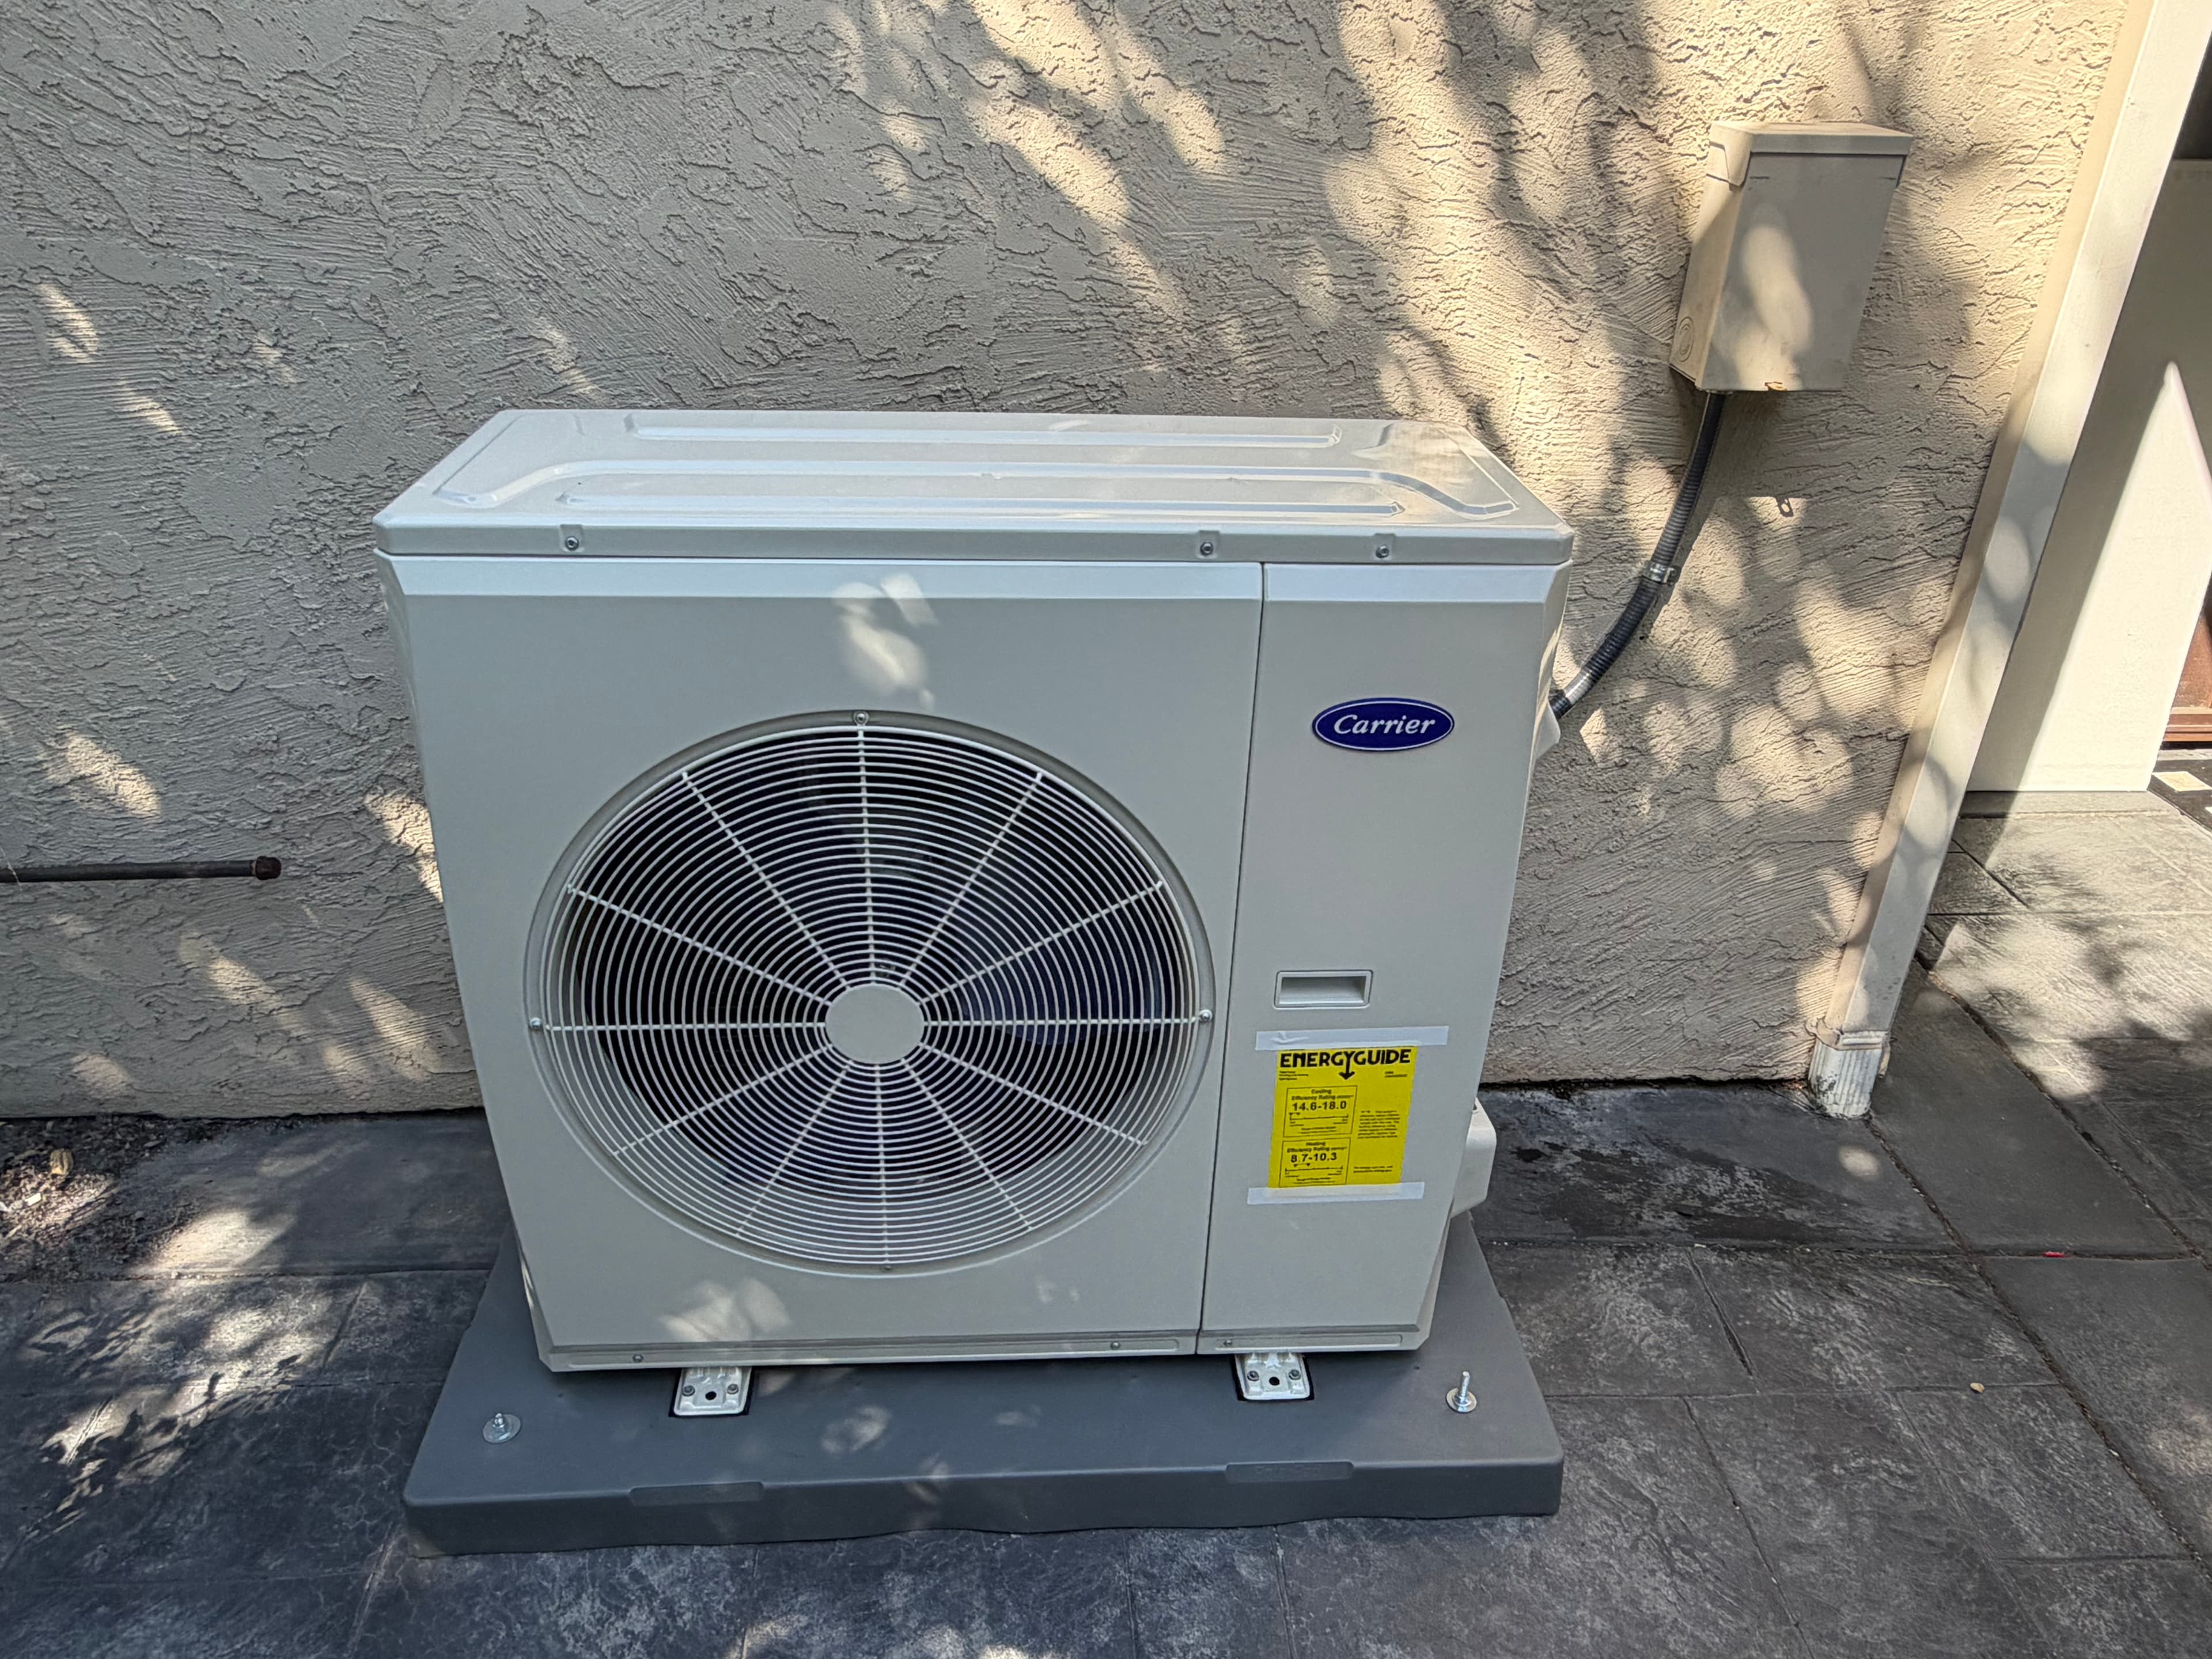
Carrier outdoor condenser unit on pad
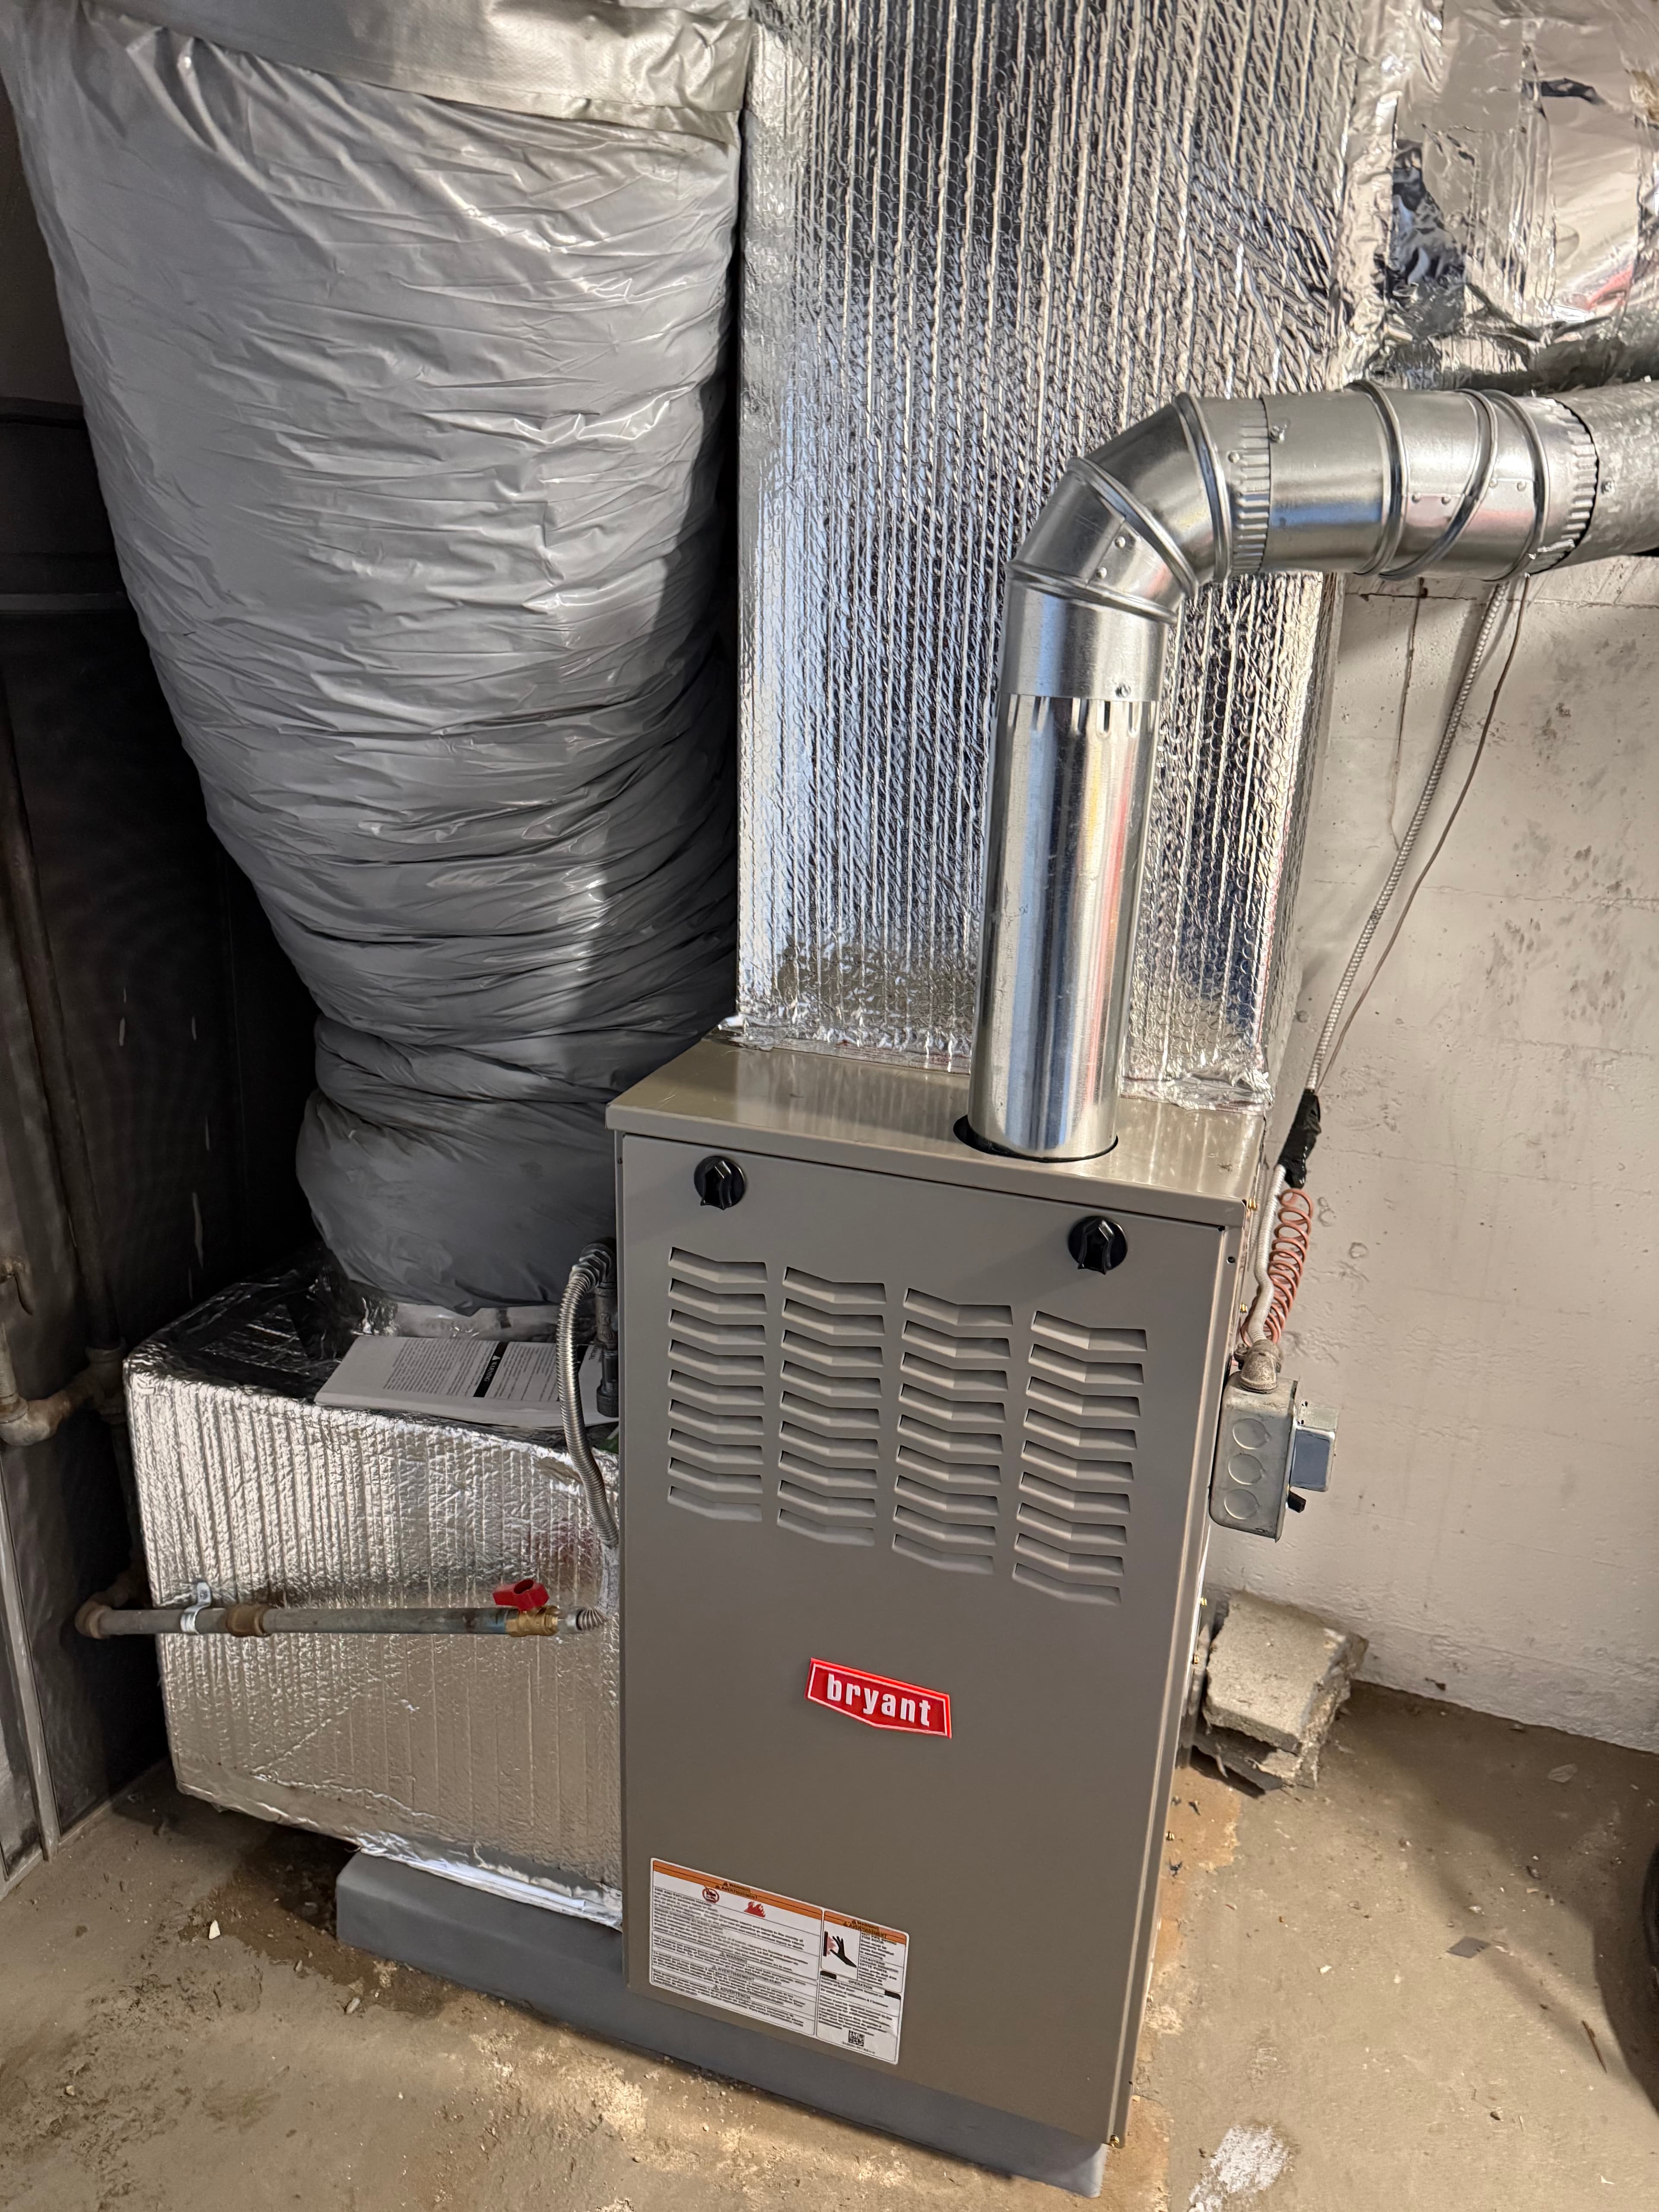
Bryant gas furnace in garage
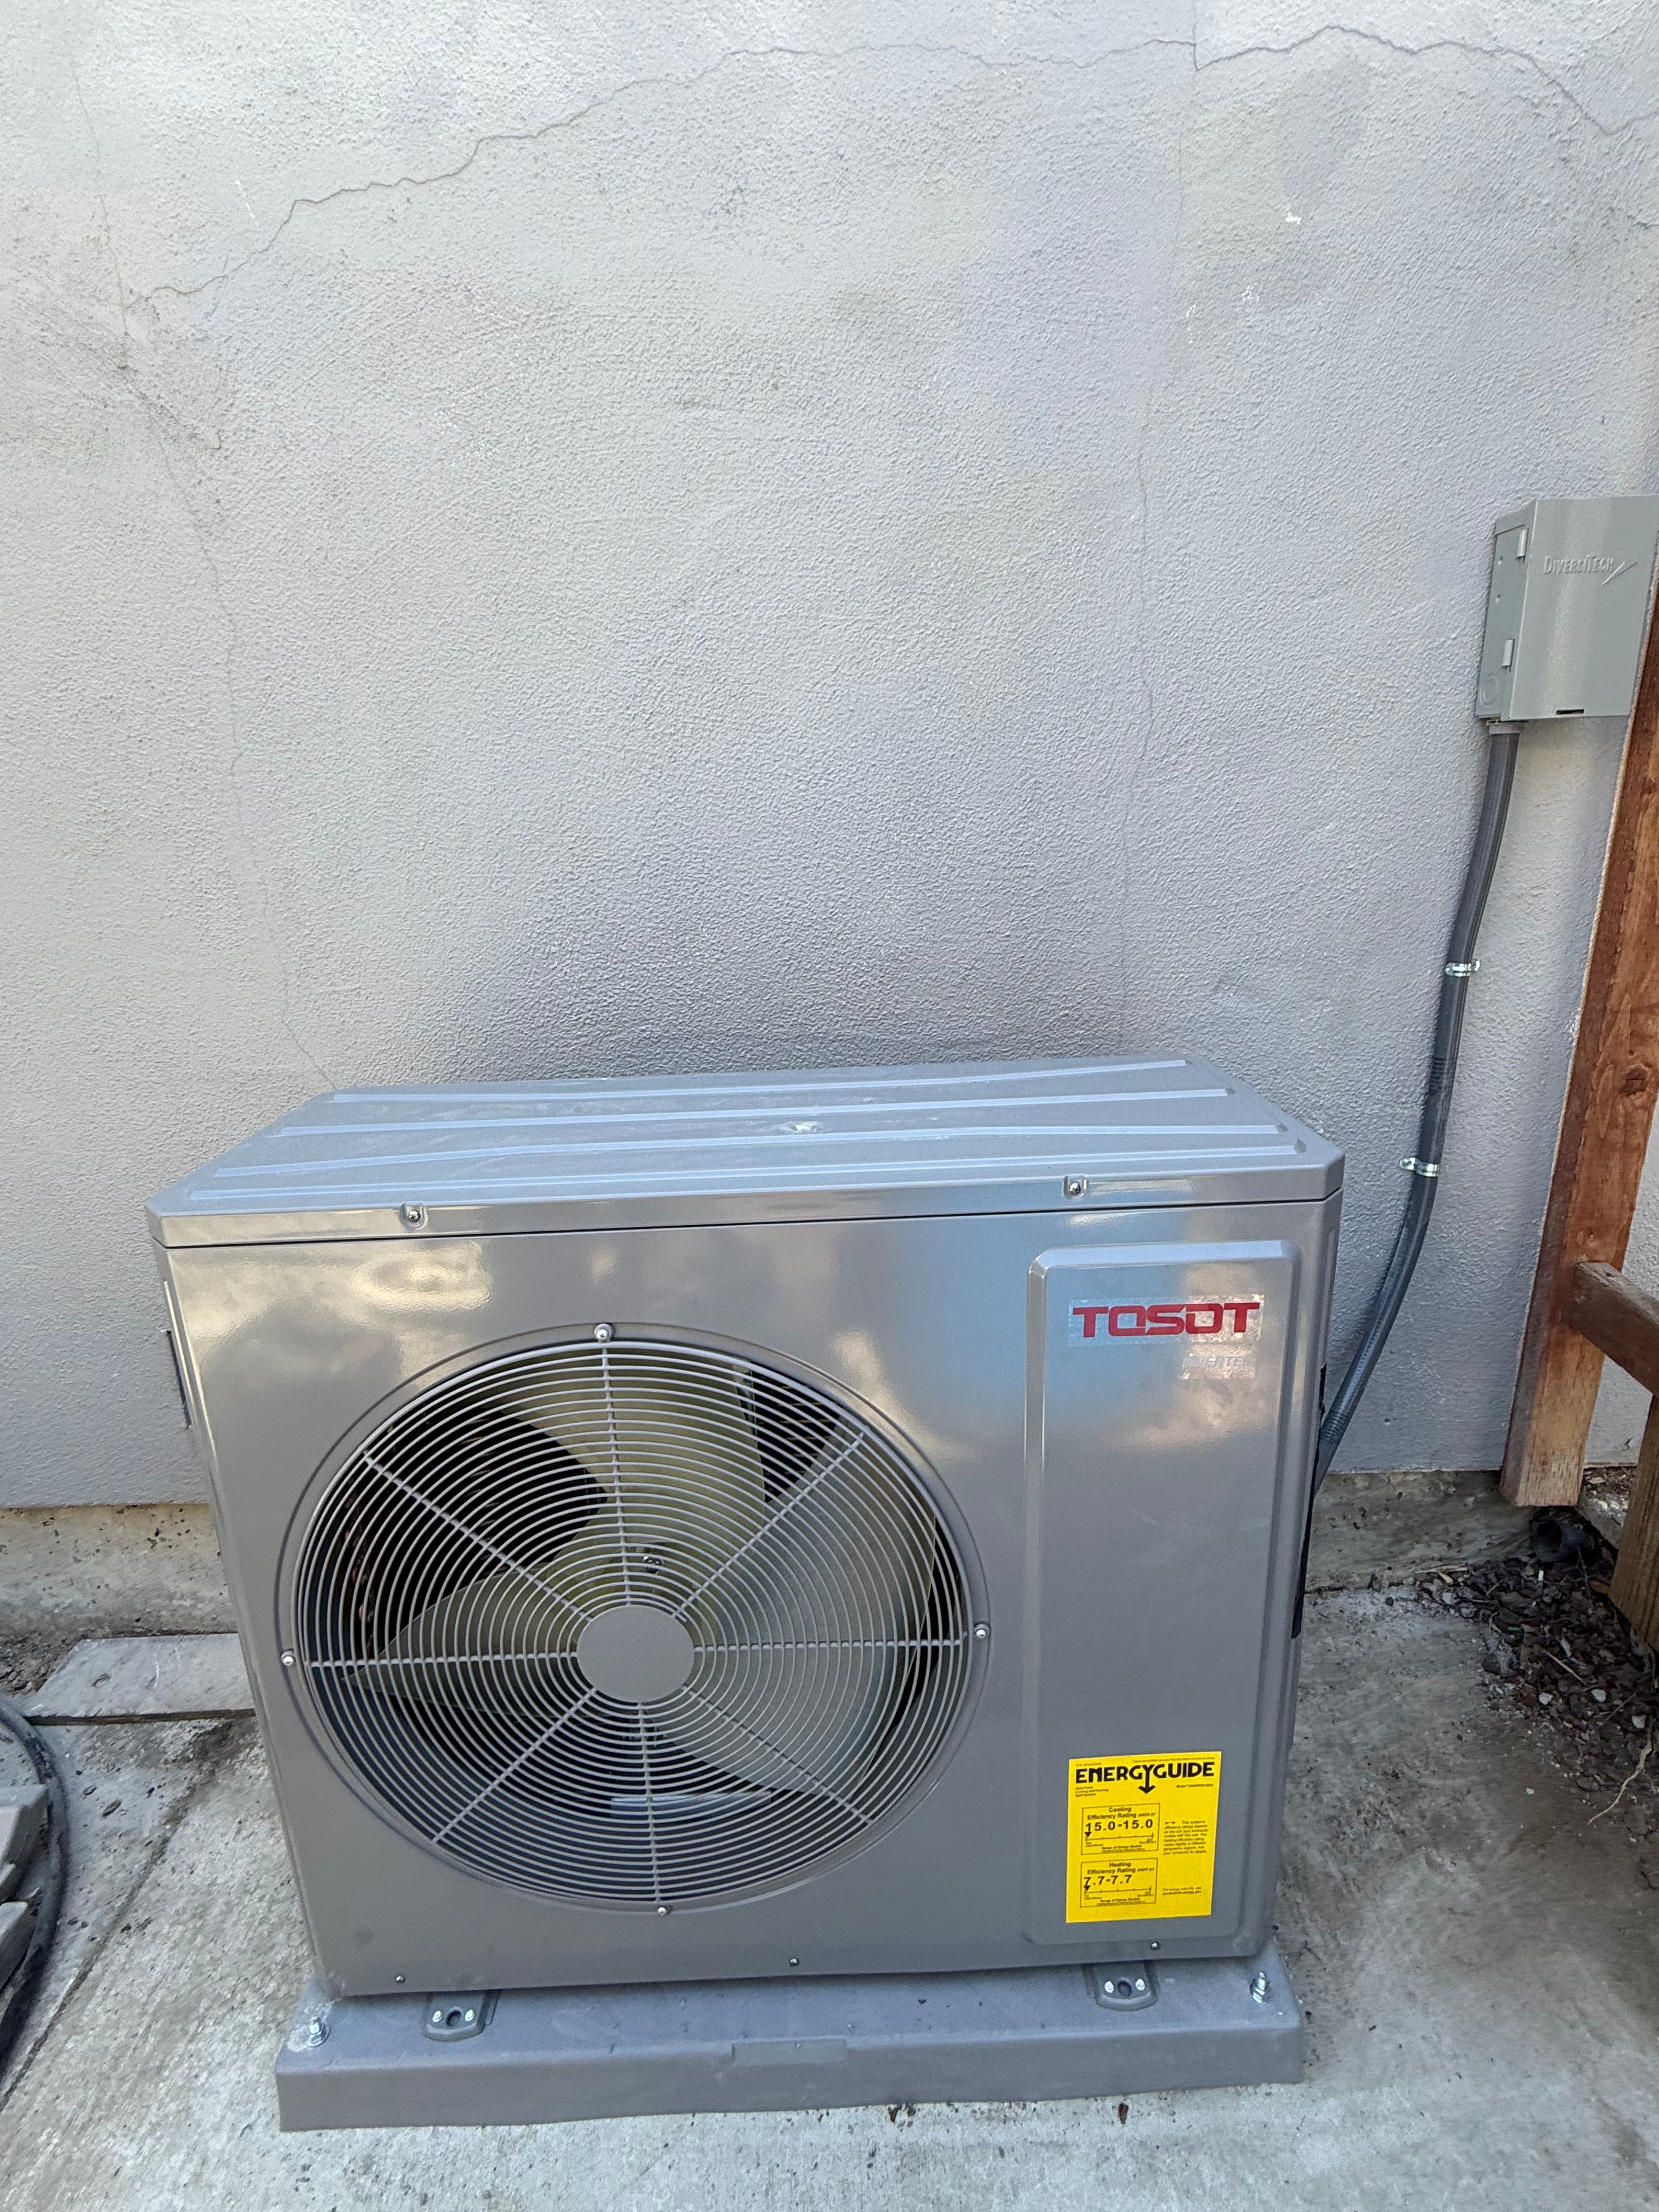
TOSOT heat pump outdoor unit
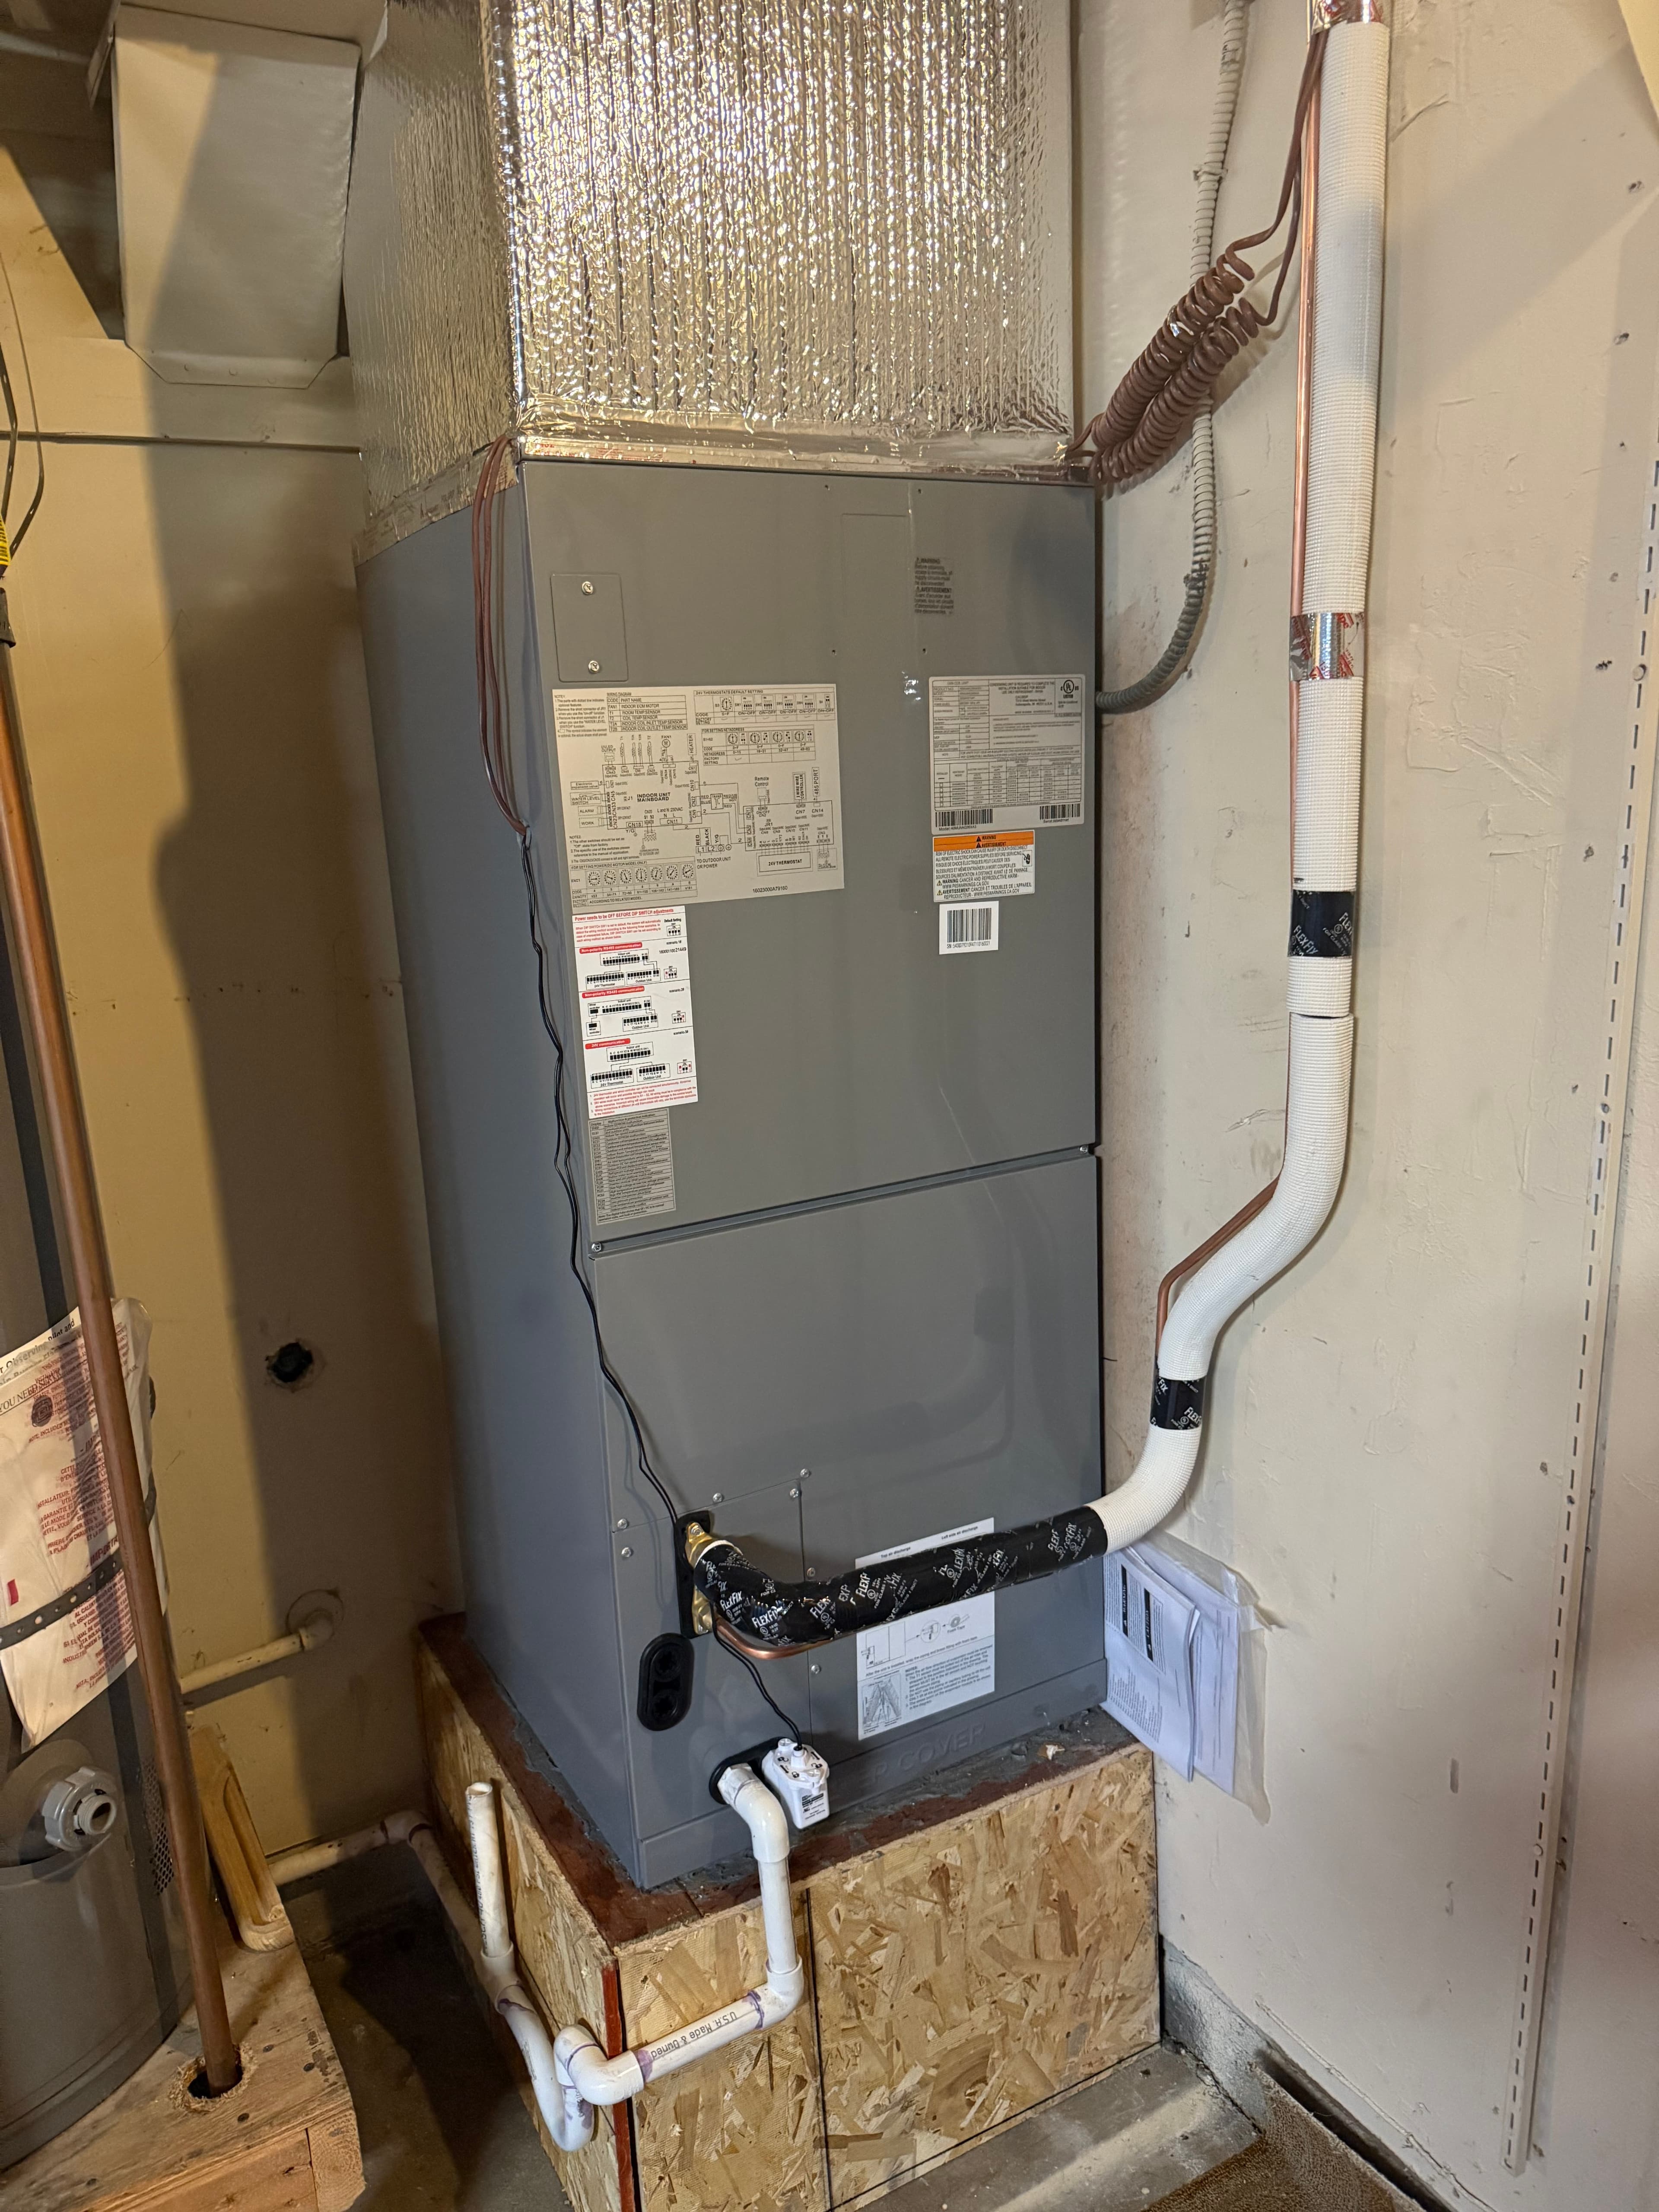
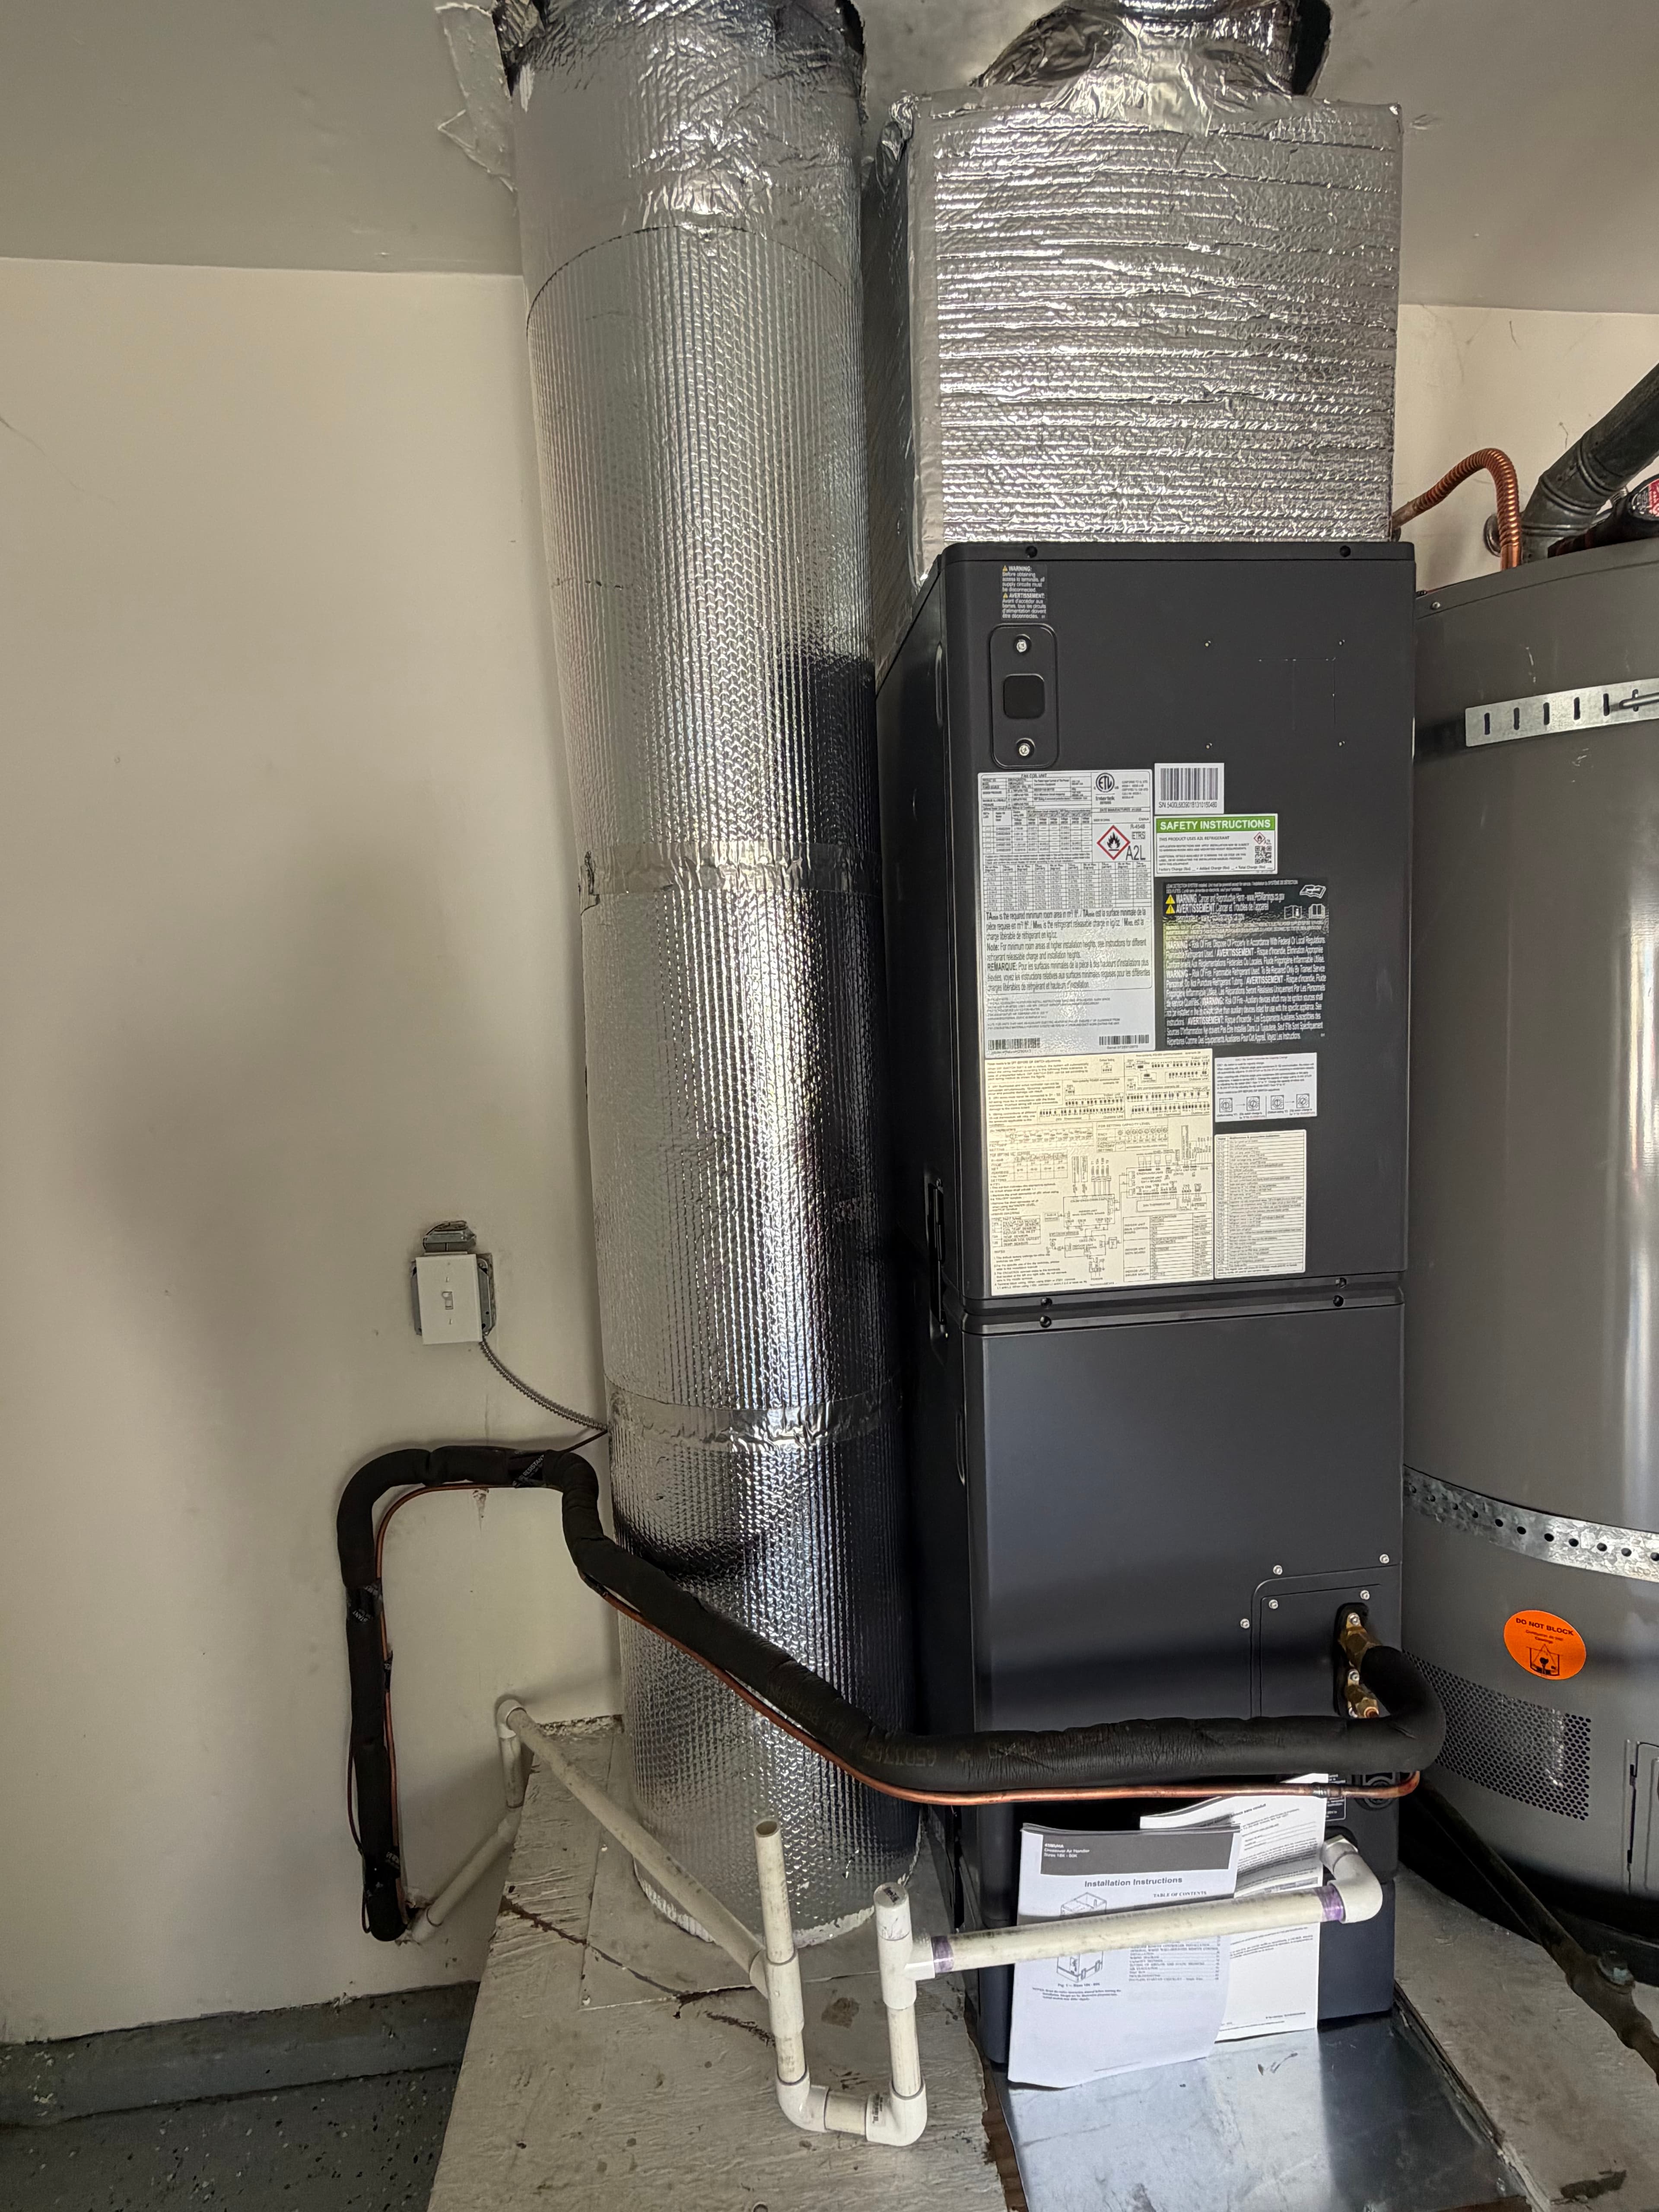
Furnace on raised platform in utility closet
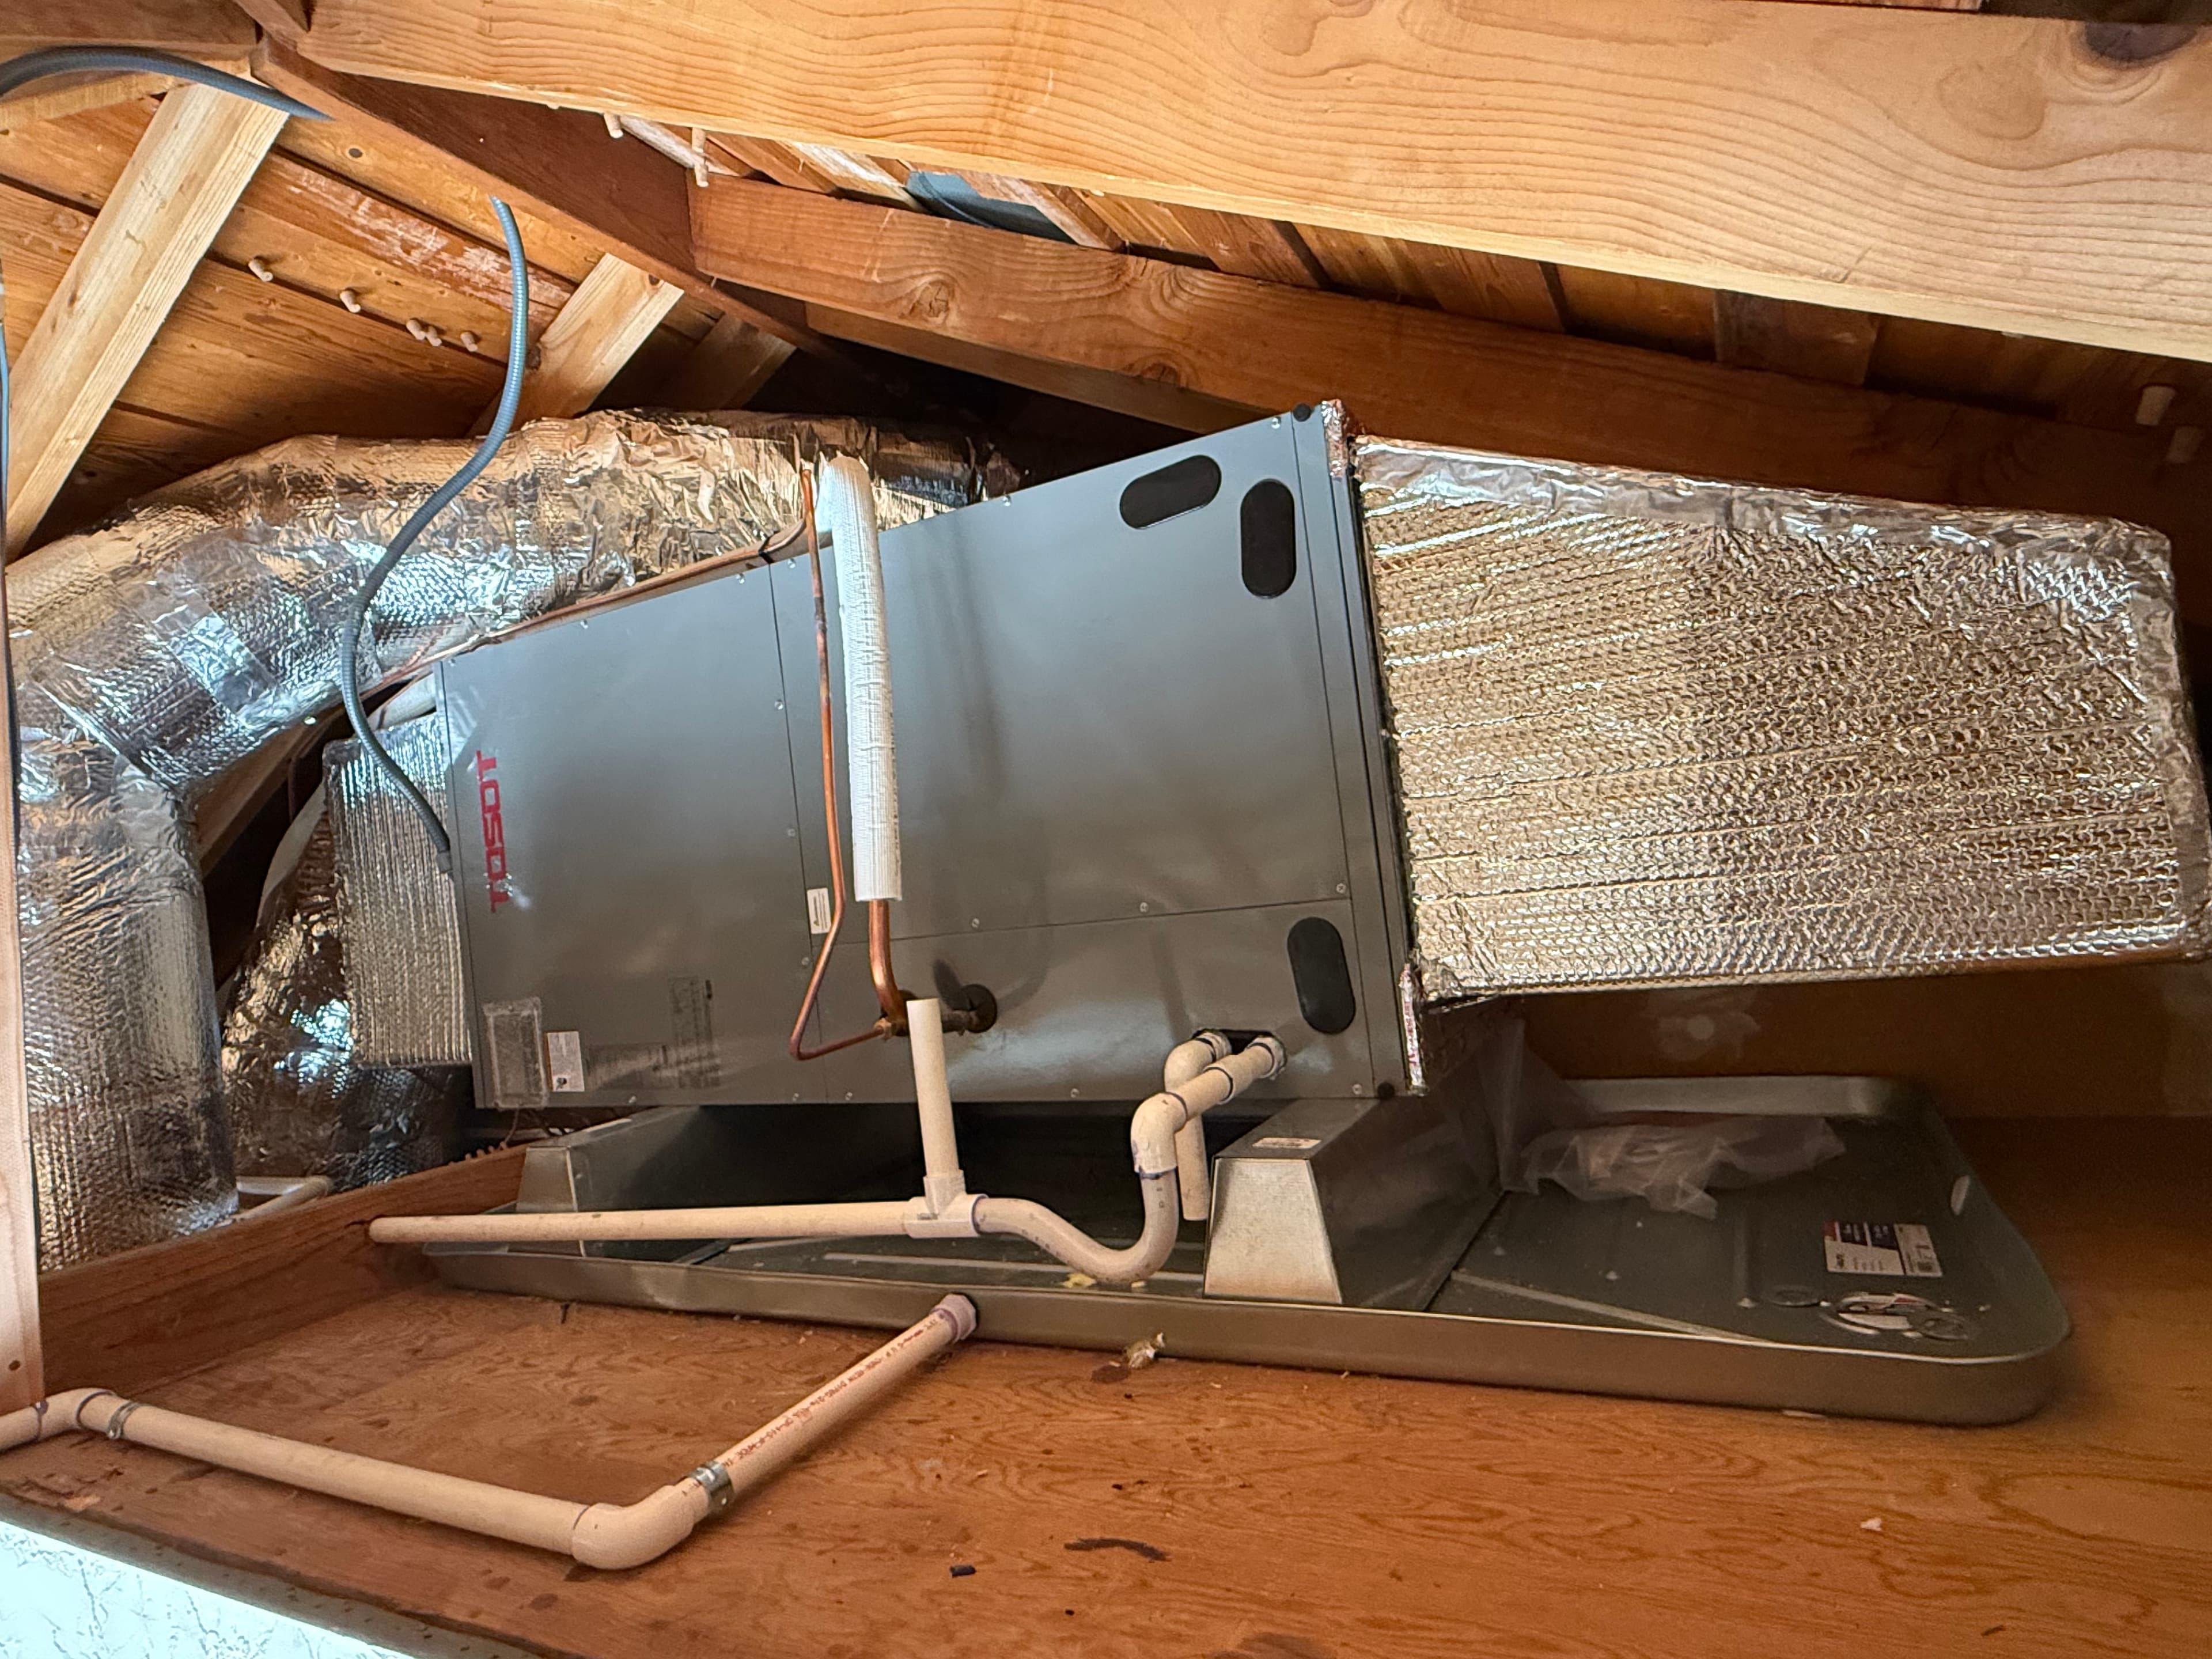
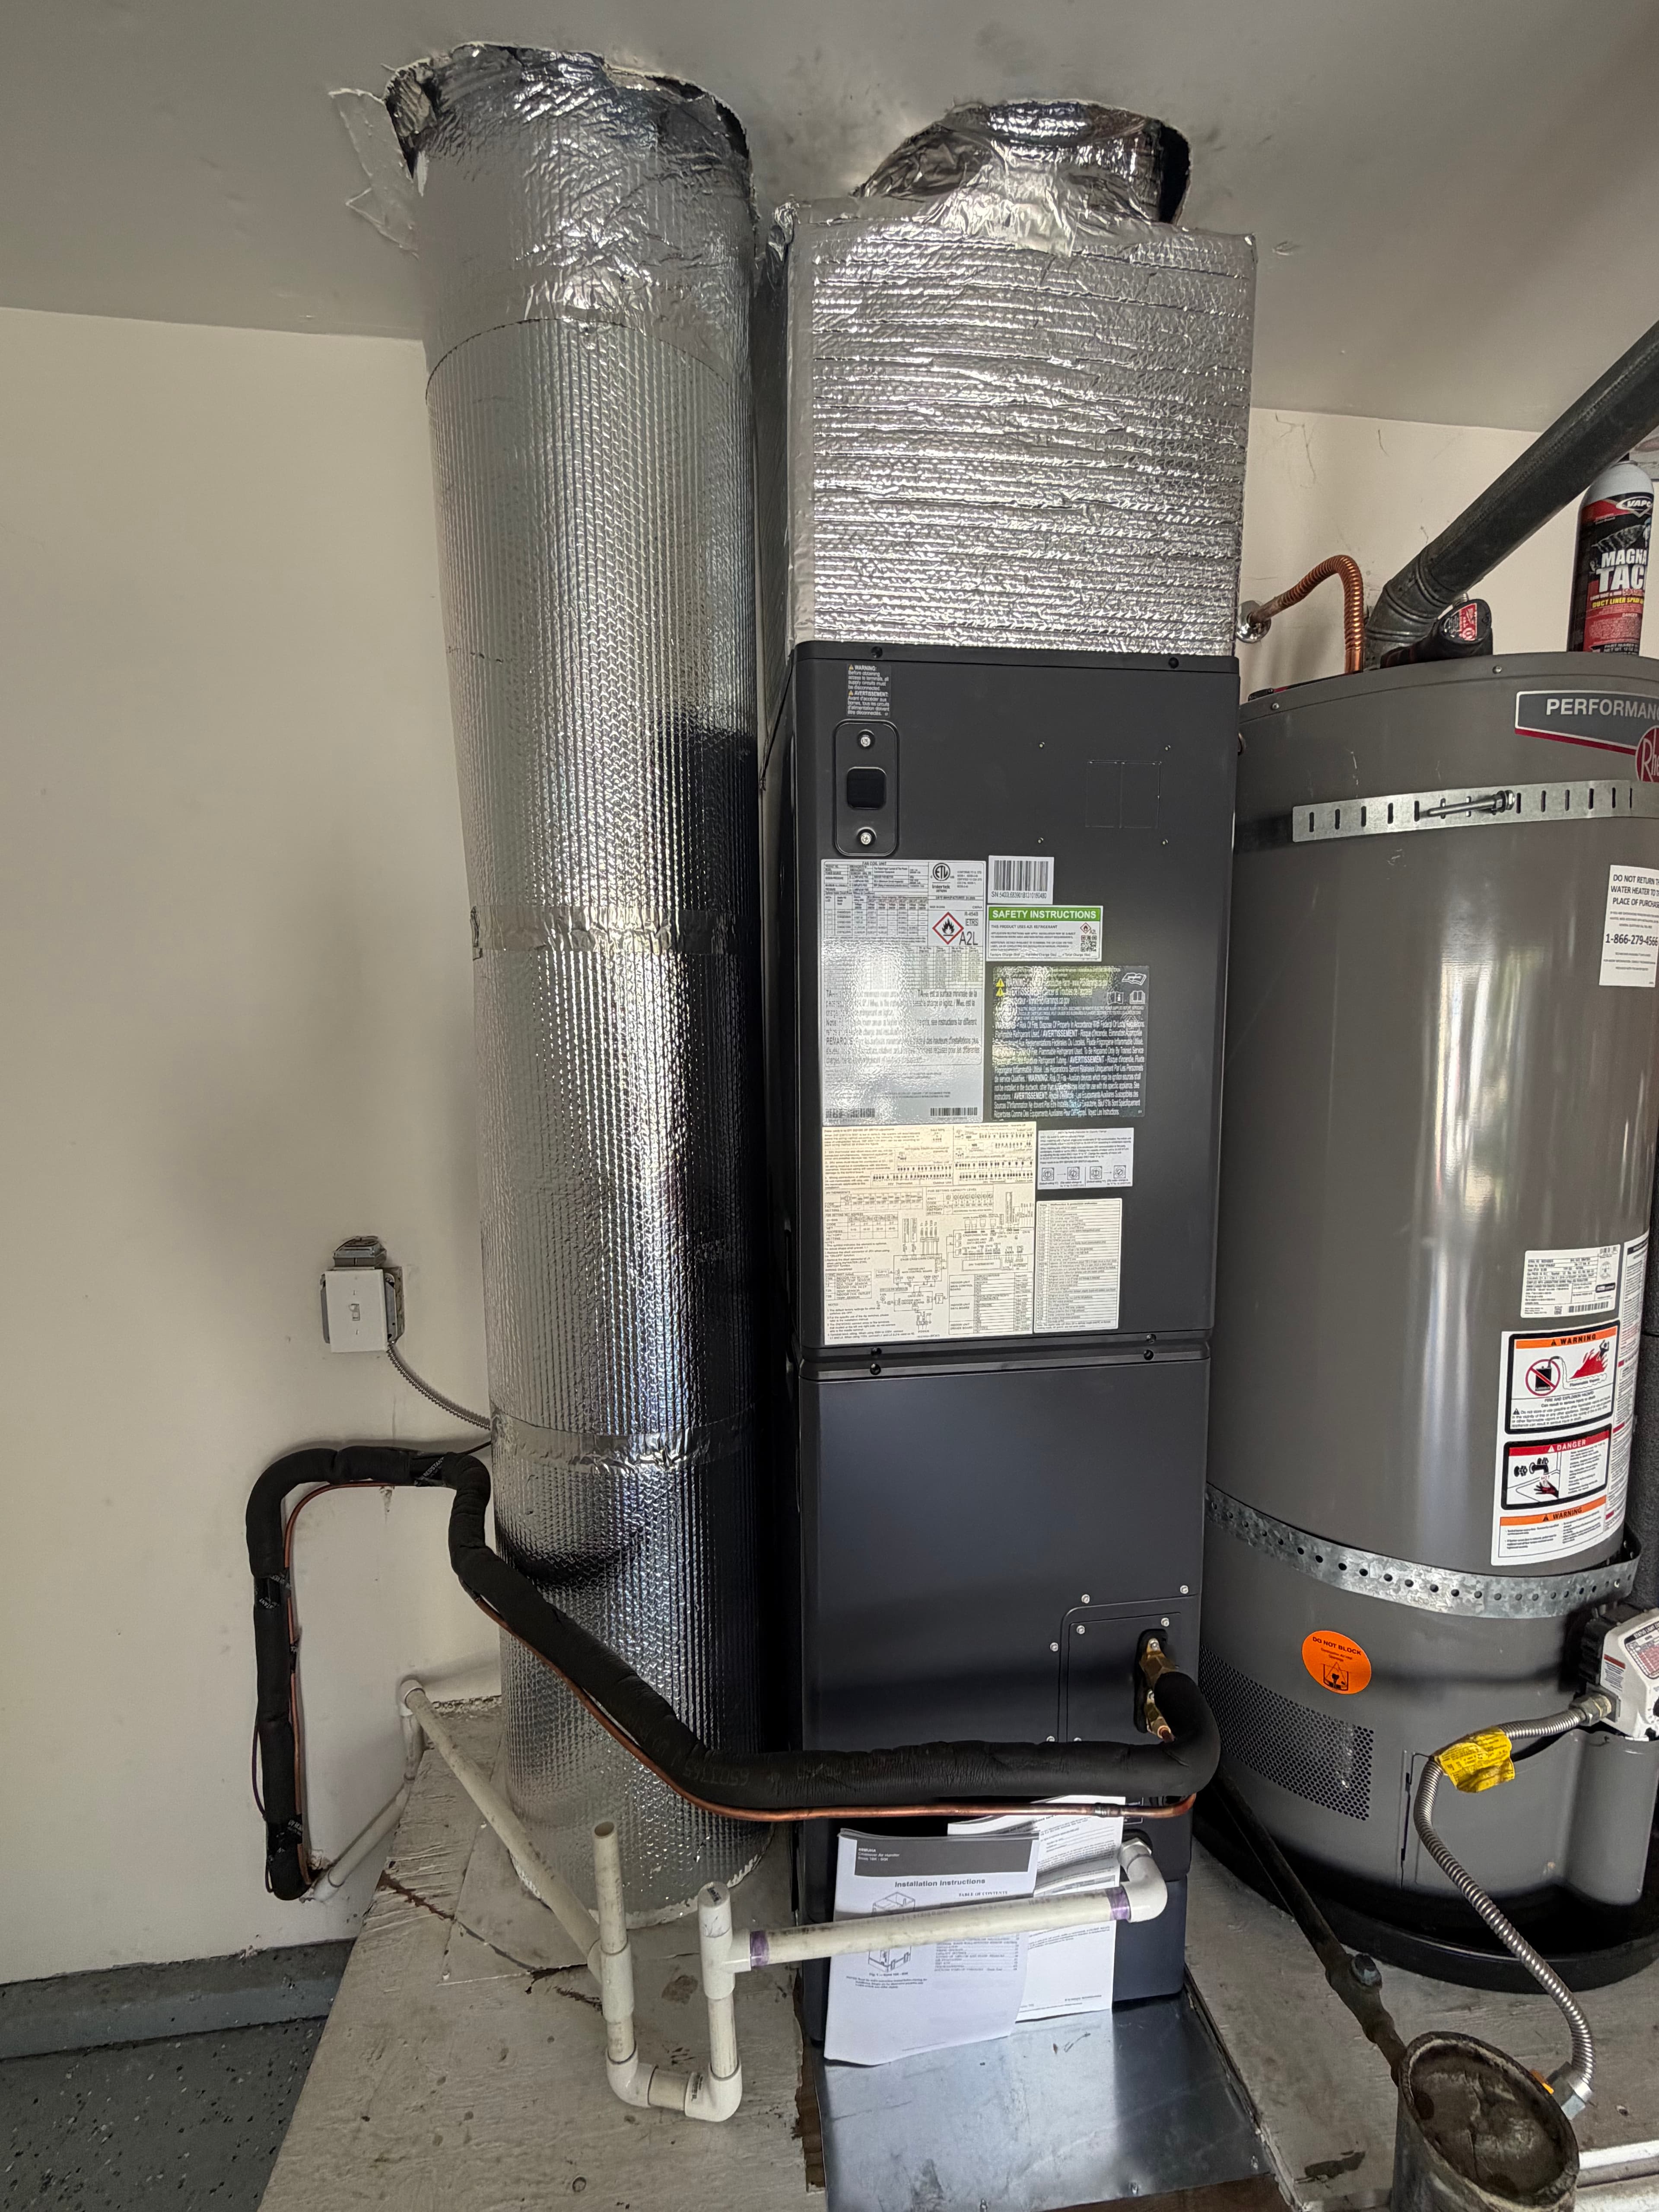
Air handler with insulated ductwork in attic
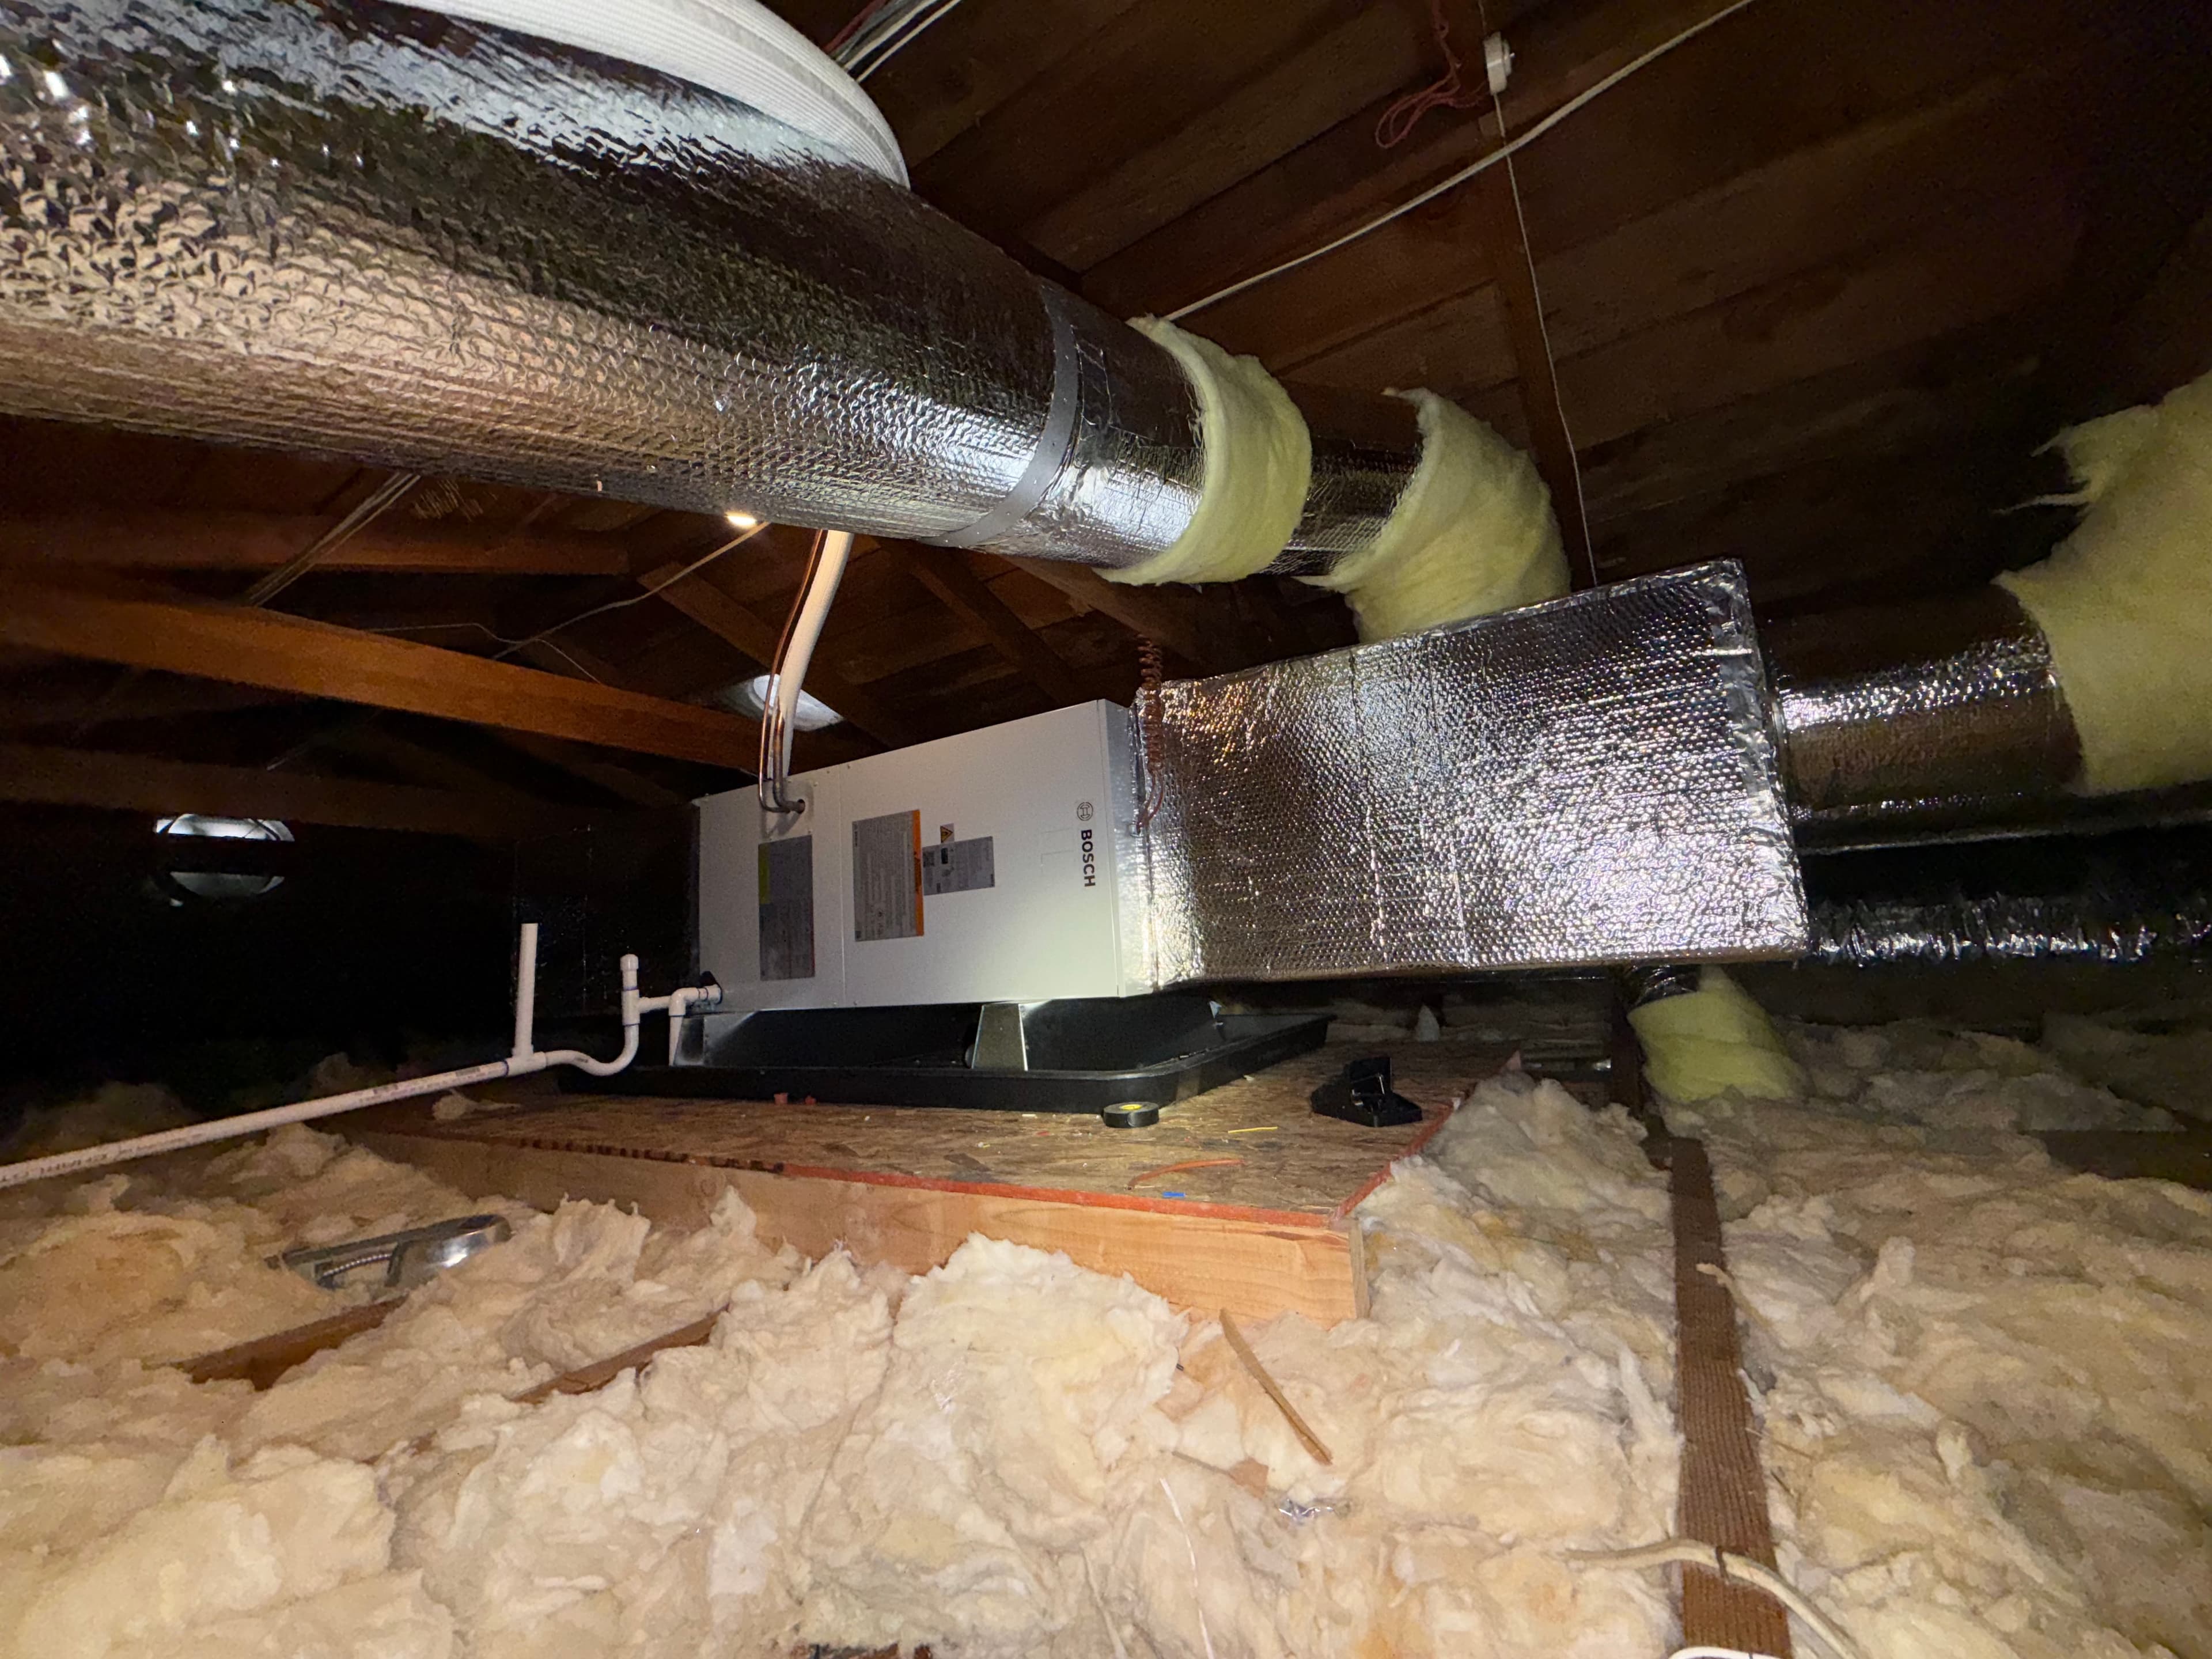
HVAC unit with ductwork in crawlspace
Furnace installation in garage
Garage HVAC system wide view
Gas furnace installed in closet alcove
Carrier outdoor condenser unit on pad
Bryant gas furnace in garage
TOSOT heat pump outdoor unit
Furnace on raised platform in utility closet
Air handler with insulated ductwork in attic
HVAC unit with ductwork in crawlspace
Furnace installation in garage
Garage HVAC system wide view
Pricing
Typical ranges for planning:
| Service | Notes |
|---|---|
| Single-zone mini split (installed) | Includes unit, mount, line set, electrical, permit |
| Multi-zone, 2-head system (installed) | One outdoor unit, two indoor heads |
| Multi-zone, 3-head system (installed) | One outdoor unit, three indoor heads |
Higher cost:
Electrical panel upgrade, difficult line set routing, multi-story installation, specific city permit fees
Lower cost:
Easy exterior wall access, existing 220V nearby, simple like-for-like swap
Financing: Coming soon — call for current options.
Frequently Asked Questions
Most single-zone installations take one day. Multi-zone systems typically take 1-2 days depending on the number of heads and line set routing complexity. EVS gives you a timeline upfront in your written quote.
Yes. Mini splits are heat pumps — they provide both heating and cooling. Modern Mitsubishi and Fujitsu systems operate down to -13°F to -22°F. Every Bay Area winter is well within that range.
No. Mini splits are ductless by design. The outdoor unit connects to indoor air handlers through a small refrigerant line. No ductwork required.
Generally yes, compared to window AC units, portable heaters, or oversized central systems. Mini splits use inverter-driven variable-speed compressors that are more efficient than on/off cycling.
Yes. Santa Clara, San Jose, Sunnyvale, and most Bay Area cities require permits. EVS handles this — we pull the permit and schedule the inspection.
A typical Bay Area bedroom (120-200 sq ft) needs a 9,000-12,000 BTU unit. But this depends on ceiling height, window area, insulation, and sun exposure — which is why EVS does a load calculation rather than a square-footage guess.
Yes. EVS Mechanical installs Mitsubishi, Carrier, Fujitsu, Daikin, Bosch, Lennox, Bryant, and Goodman mini split systems. We'll recommend the right brand for your needs and budget.
Yes. Mini splits operate independently of your existing system. You can add ductless cooling and heating to a single room without touching the rest of your HVAC.
Yes. EVS provides ongoing maintenance and repair for every system we install. Local service team — not a warranty call center.
Service Areas
EVS Mechanical provides mini split installation throughout the Bay Area: